Creative Caps: Plastic Bottle Cap Crafts
September 8, 2014You may remember the days when bottled water caps were non-recyclable, leaving tons of the little tops to go to our landfills. Luckily, those days are over, and many recycling plants have discovered ways to include bottle caps in the recycling process. At Azure Water, our entire bottle is recyclable, cap included.
But just because bottle cap recycling is now an option, it doesn’t mean it is the only way to get some use out of these little guys. We’ve compiled a list of our favorite plastic bottled water cap crafts to show you how many ways you can upcycle your caps.
Bottle Cap Stamps

Image Source: Pinterest
This is about as easy as it gets when it comes to bottle cap crafts. With only two materials required, plastic bottle cap stamps are a craft that all ages can enjoy. All you need are bottled water caps and small foam stickers. Simply place the sticker on the top of the bottled water cap and voila, your stamp has been made. Dip them in paint and stamp away!
Animal Magnets

Image Source: Pinterest
Plastic bottle caps are the perfect size for a magnet. To make them more exciting, there are tons of ideas on how to make the caps look just like critters. You’ll need some button magnets, foam or construction paper, glue, markers and of course bottle caps. Making them is pretty self explanatory, just glue the magnet to the underside of the cap then decorate the top to look like whatever animal or bug you choose. We do have one helpful tip to offer though: if you notice your magnet is not thick enough to protrude from the lid, simply fold up a piece of paper and glue it between the back of the lid and the magnet. This will give the magnet the extra width it needs to extend beyond the bottle cap and stick to a metal surface.
Bottle Cap Mural

Image Source: Pinterest
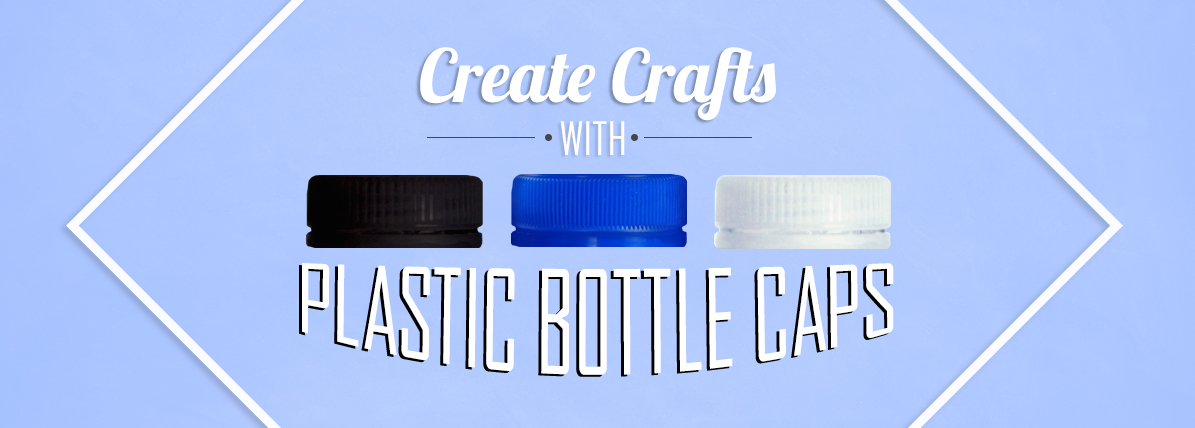
A bottle cap mural is a great way to create an art piece with depth and texture. To create a plastic bottle cap mural, you’ll need some sort of backing, whether it is a piece of cardboard, poster board or canvas. Next, draw an outline of the image you are going to create. If you want color to show in-between the caps, you can go ahead and paint in your picture. If not, mark with a pencil what color caps need to go where. At Azure Water, we offer clear, black or blue caps, but for more colors you can always toss the clear caps in a bag with paint and shake them until they are covered. Use either hot glue or craft glue to set the caps in place.
Fabric Covered Flower Coasters

Image Source: Pinterest
If you’re not a fan of the plastic look, this craft is for you! Fabric covered bottle cap coasters create a much softer look than usual bottle cap crafts. For this craft you’ll need a few colors of fabric, a needle and thread, bottle caps, scissors, a pencil, felt and a lid from a glass jar. Place the glass jar lid on the fabric and trace it with your pencil. Cut out the circular piece and place it around the bottle cap, pulling it tight. Tuck the excess fabric into the plastic lid then sew together so that it stays tight. Next, cut a circular piece of felt then glue the fabric covered caps onto the felt in a flower pattern.
We hope one of these crafts catches your eye and you’ll give it a try! Please let us know any other bottle cap crafts you’ve found on our social channels so we can share them as well.
For more information about our bottle cap color options at Azure Water, give us a call. You can also reach us on our contact form for any questions about our custom label bottled water for your next event.